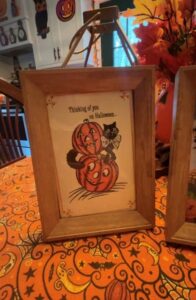
DIY Halloween wall art is one of my absolute favorite budget-friendly decorating hacks. It’s fun, so easy, and it just instantly makes your home feel so much cozier.
Here’s how I make mine:
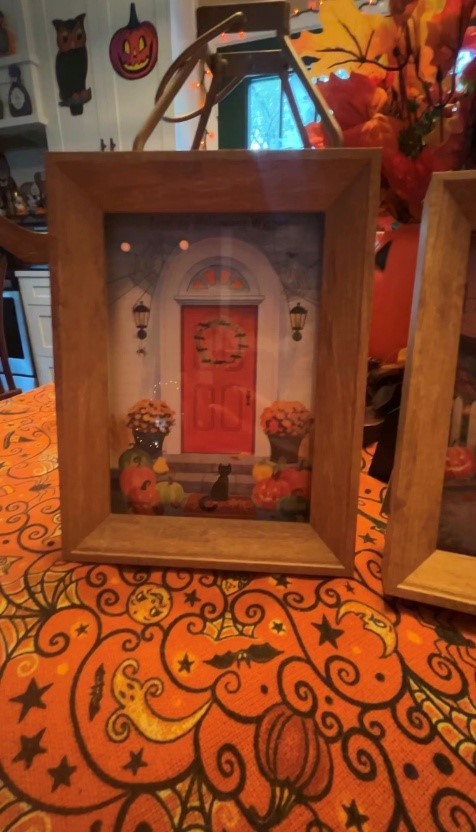
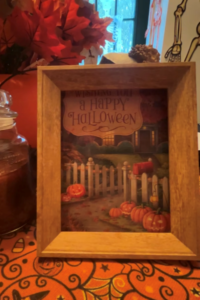
I start by picking out Halloween and fall greeting cards from Dollar Tree, or any store you would like. I look for cards with artwork that matches my style—cozy, nostalgic, and home scenes always catch my eye.
Next, I carefully cut the back off the card to create more room inside of the picture frame. Depending on the size of your frame, you may also need to trim the edges of the card slightly so it fits perfectly. I used 5×7 frames and had to cut mine slightly.
For the frames, I used inexpensive ones I found at another store, but Dollar Tree frames work just as well, and you can always use frames you already have around the house. Once the card is trimmed, simply place it in the frame like you would a photo and secure the backing.
The best part is decorating with them! You can hang them on the wall or style them throughout your home. I love placing mine next to a cozy lamp, on an end table, layered, or beside a vase filled with fall florals.
My husband and I actually came up with this idea about five or six years ago when we were newly married. We kept seeing the cutest Halloween and Fall cards at the store but never really had a reason to buy them. Then we realized they looked like tiny pieces of artwork. We framed a few and put them on our nightstands, and they instantly made our room feel warm, cozy, and festive. We still love decorating our home with those cards to this day.